Small Acoustic Booth is Essential for Your Home Studio
Why a Small Acoustic Booth is Essential for Your Home Studio
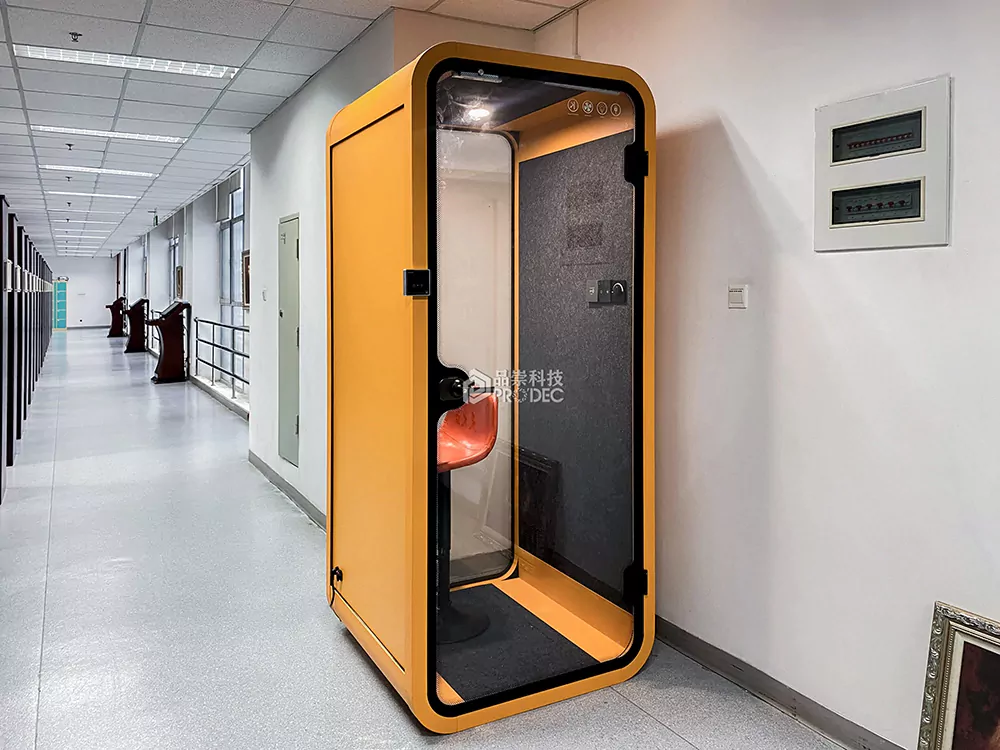
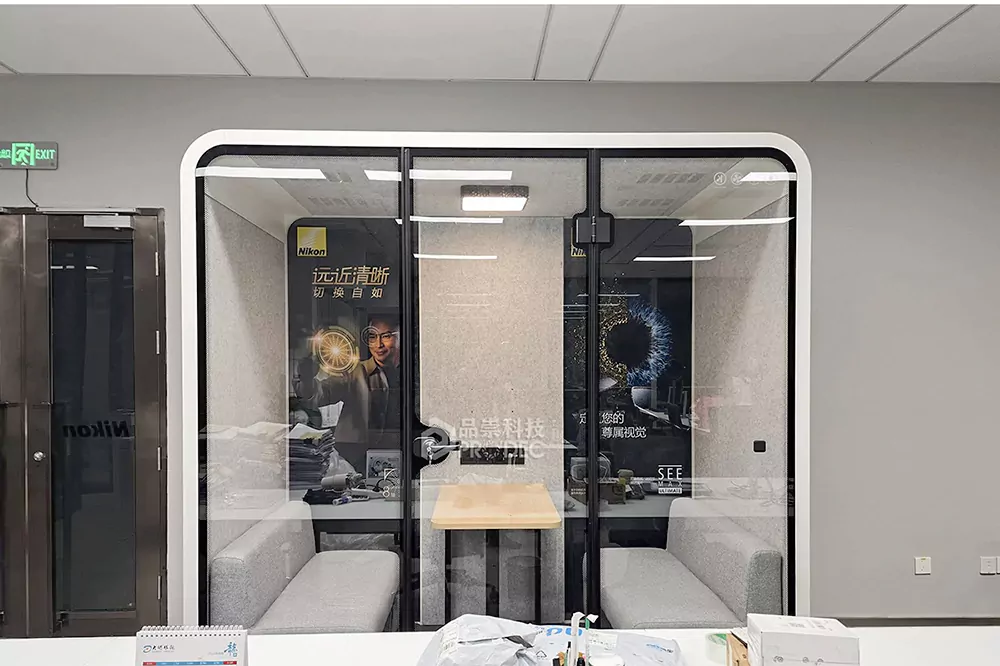
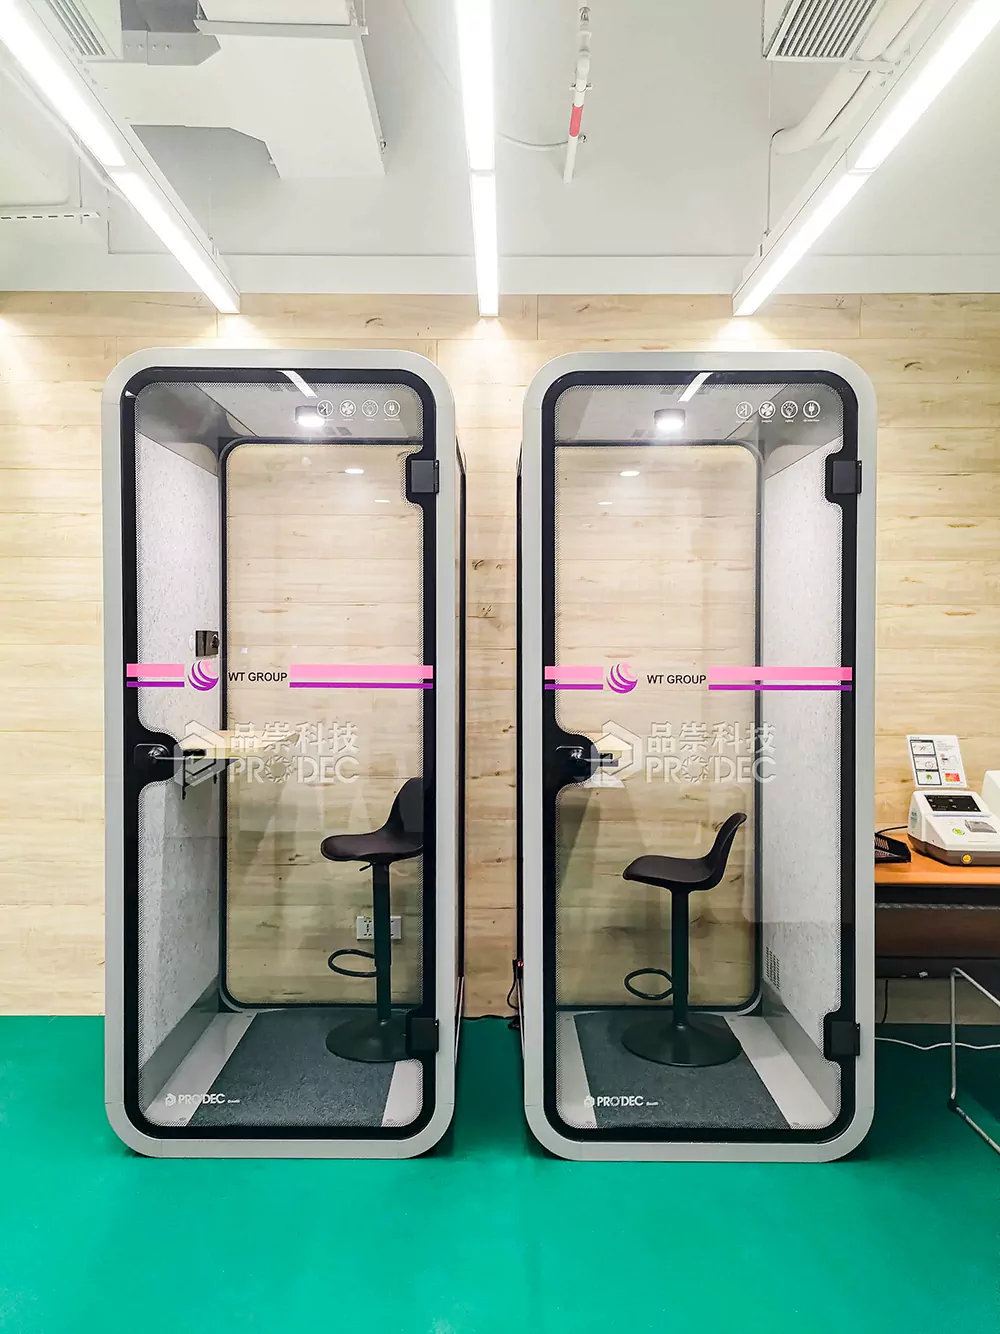
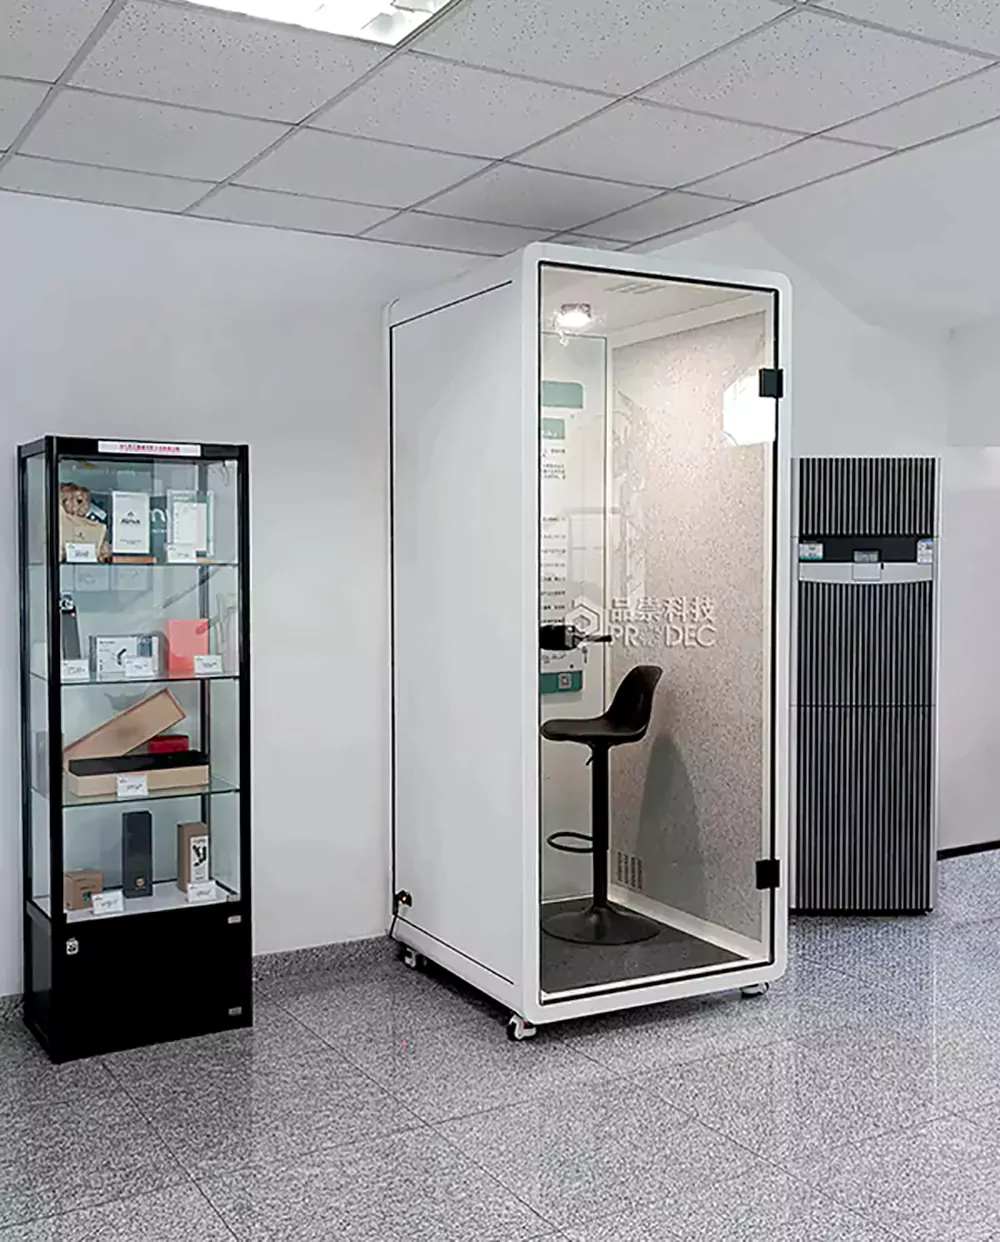
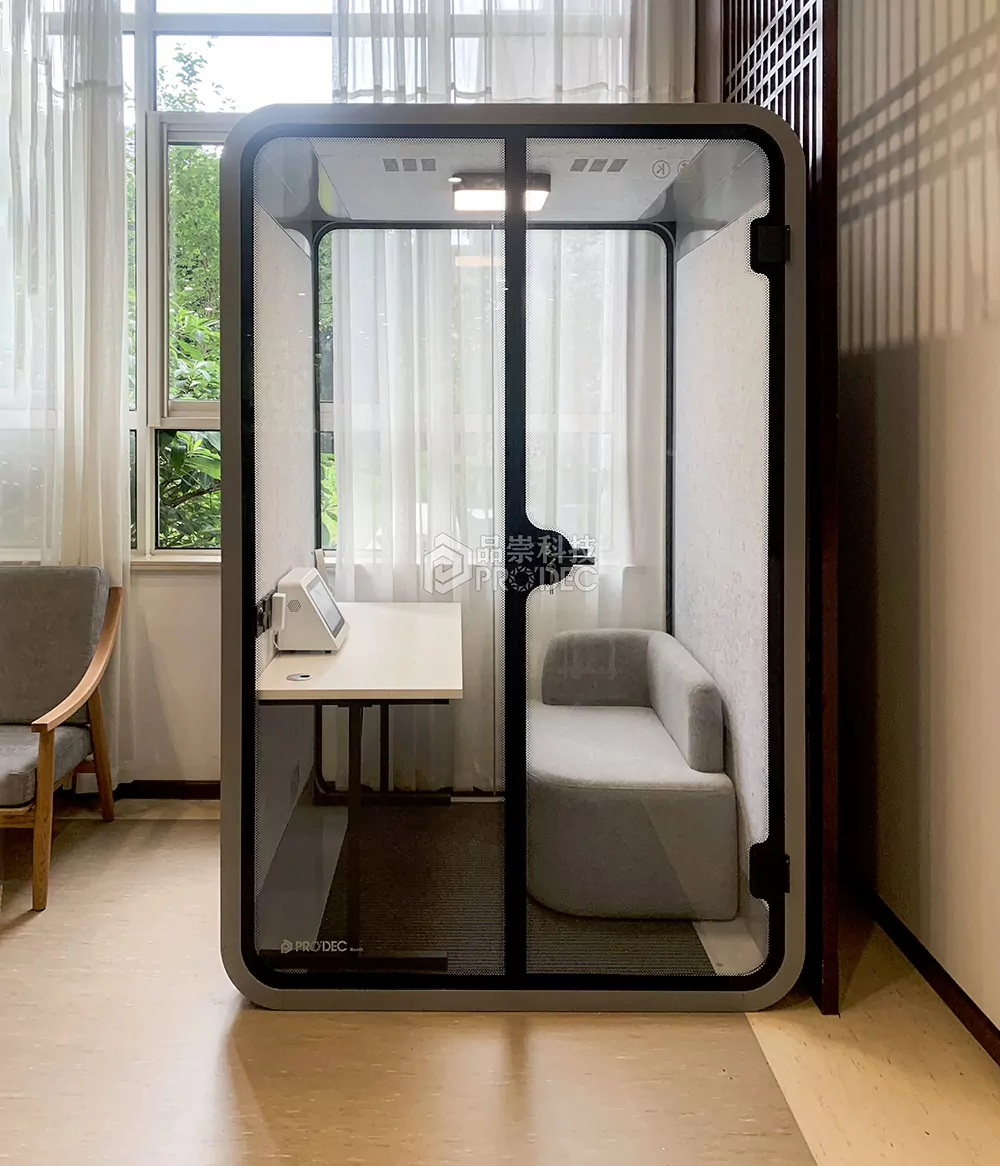
For musicians, podcasters, and voice-over artists working in compact urban apartments or multi-purpose rooms, finding the perfect acoustic environment can be a constant challenge. A small acoustic booth for home studio offers a targeted solution by creating an isolated, controlled sound space without requiring a dedicated room. These booths are engineered to minimize external noise interference and internal sound reflections, ensuring your recordings are clean, professional, and free from unwanted reverb or background noise. Unlike full-room treatments, which can be costly and complex, a small acoustic booth provides immediate results with minimal setup.
The core benefit lies in its portability and focused design. Whether you’re recording vocals, instruments, or conducting interviews, a well-constructed booth enhances clarity and detail. It absorbs ambient sound waves using specialized materials like high-density foam and bass traps, while its compact footprint makes it ideal for corners, desks, or even temporary setups. For users with limited square footage, this means achieving studio-grade acoustics without sacrificing living space. As remote content creation grows, the demand for such efficient, space-saving solutions continues to rise.
Step-by-Step Guide to Choosing the Right Small Acoustic Booth
Step 1: Assess Your Available Space
Begin by measuring the area where you plan to place the booth. Ensure there’s enough clearance around it for airflow and cable management. Most small acoustic booths for home studio setups range from 2’x2′ to 4’x4′, so choose one that fits snugly without blocking doors or pathways.
Step 2: Define Your Primary Use Case
Determine whether you’ll use it mainly for vocal recording, instrument miking, podcasting, or voice-overs. This affects the internal volume and shape needed—taller units suit standing vocalists, while shorter ones work for seated speakers.
Step 3: Check Material Density and Absorption Ratings
Look for booths lined with NRC (Noise Reduction Coefficient) rated materials. High-density mineral wool or melamine foam offers superior absorption compared to standard polyurethane foam.
Step 4: Evaluate Frame Durability
The frame should be lightweight yet rigid—aluminum or reinforced steel ensures stability without adding bulk. Avoid flimsy plastic connectors that degrade over time.
Step 5: Confirm Portability Features
If you need to move or store the booth frequently, opt for modular designs with quick-release hinges and carrying cases. Foldable models save significant space when not in use.
Step 6: Inspect Ventilation and Cable Pass-Throughs
Prolonged sessions require airflow. Look for mesh panels or passive vents. Integrated cable grommets prevent tangling and reduce noise leakage through gaps.
Step 7: Test Compatibility with Microphones and Stands
Ensure the interior accommodates your mic stand height and allows for proper positioning. Some booths include built-in clamps or mounting brackets.
Step 8: Review Assembly Time and Tools Required
Ideal units assemble in under 15 minutes with no tools. Tool-free snap systems enhance user convenience, especially for beginners.
Step 9: Compare Frequency Response Data
Reputable manufacturers provide frequency absorption charts. A flat response across 100Hz–5kHz indicates balanced performance suitable for most recording tasks.
Step 10: Read Verified User Reviews
Real-world feedback reveals long-term durability, ease of use, and actual noise reduction effectiveness. Pay attention to comments about build quality and sound clarity improvements.
Top Features to Look for in a Compact Acoustic Booth
Lors de la sélection d'un small acoustic booth for home studio, prioritize features that maximize performance within minimal dimensions. First, multi-layered wall construction combining mass-loaded vinyl (MLV) with acoustic foam significantly improves sound isolation. Second, a front-facing open panel with a fabric grille maintains visibility and microphone access while diffusing sound waves. Third, adjustable interior shelving allows customization for different gear configurations.
Additional smart features include magnetic door seals for airtight closure, internal LED lighting with dimming controls, and removable washable fabric covers for hygiene. Some advanced models integrate USB-powered fans for climate control during long takes. Lastly, compatibility with common digital audio workstation (DAW) environments ensures seamless integration into your existing workflow.
Performance Comparison: Entry-Level vs. Professional Small Acoustic Booths
| Fonctionnalité | Entry-Level Model | Professional Model |
|---|---|---|
| Internal Dimensions | 24″ x 24″ x 36″ | 36″ x 36″ x 48″ |
| Wall Material | Dual-layer foam | Mineral wool + MLV barrier |
| Noise Reduction (dB) | 15–20 dB | 25–35 dB |
| Temps d'assemblage | 10 minutes | 15 minutes |
| Price Range (USD) | $150–$250 | $400–$700 |
User Experience: Real Feedback on Small Acoustic Booths
Customer testimonials highlight both practical benefits and emotional satisfaction. One verified buyer noted: “As a podcaster in a shared apartment, this small acoustic booth for home studio transformed my audio quality. Background traffic noise dropped dramatically, and my listeners now comment on the crispness.”
Un autre utilisateur a partagé : “I was skeptical about such a compact unit, but after testing it with my Rode NT1, I noticed a massive reduction in room resonance. Vocals sound tight and present—exactly what I needed for remote sessions.”
Visual proof comes from included product review images showing side-by-side waveform comparisons. In one image, a recording made outside the booth exhibits pronounced low-mid frequency buildup, while the same take inside shows a clean, focused signal with reduced ambient noise floor. These real examples validate the technical claims and build trust among potential buyers.
Installation & Optimization: Maximizing Your Booth’s Potential
Proper placement is critical. Position the booth away from walls to avoid boundary reinforcement, ideally at least 12 inches clear on all sides. Orient the opening toward the quietest part of the room, avoiding direct line-of-sight to windows or HVAC vents. Calibrate your microphone inside the booth using a reference tone (e.g., 1 kHz sine wave) to ensure optimal gain staging.
To further enhance performance, add a reflection filter behind the microphone if recording vocals, and use a shock mount to isolate mechanical vibrations. Regular maintenance includes dusting the foam surfaces and checking frame connections for wear. With correct usage, a high-quality small acoustic booth for home studio can last over five years, delivering consistent results across countless projects.
Value Comparison: Acoustic Treatment vs. Small Acoustic Booth
| Criteria | Room Acoustic Treatment | Small Acoustic Booth |
|---|---|---|
| Besoin d'espace | Entire room | Corner or desk area |
| Setup Complexity | High (measurement, panel placement) | Low (assemble and place) |
| Coût initial | $300–$1000+ | $150–$700 |
| Mobilité | None (permanent) | High (portable/foldable) |
| Sound Isolation | Moderate (reduces reflections) | High (blocks external noise) |
Conclusion: Is a Small Acoustic Booth Right for You?
If you’re working in a confined space and need broadcast-quality audio, a small acoustic booth for home studio is a smart, cost-effective investment. It bridges the gap between untreated environments and professional studios, offering tangible sonic improvements with minimal footprint. By following the selection steps and understanding key performance metrics, you can confidently choose a model that meets your creative needs. Whether you’re a beginner or a seasoned producer, this tool empowers you to focus on artistry—not acoustics.
本文由人工智能技术生成,基于公开技术资料和厂商官方信息整合撰写,以确保信息的时效性与客观性。我们建议您将所有信息作为决策参考,并最终以各云厂商官方页面的最新公告为准。