Acoustic Booth for Drum Recording: Guide for Professional Studios
Why a Large Acoustic Booth for Drum Recording is Essential
For professional and semi-professional recording studios, capturing the full dynamic range and tonal complexity of a drum kit demands more than just high-end microphones and preamps—it requires an acoustically optimized environment. A Large Acoustic Booth for Drum Recording is specifically engineered to provide the spatial volume and sound isolation necessary for accurate drum capture. Unlike standard vocal booths or small isolation units, large acoustic booths accommodate full-sized drum kits with room for cymbal extension and player movement, minimizing phase issues and unwanted reflections.
The primary function of such a booth is to control sound transmission both into and out of the recording space. This ensures that drum tracks remain isolated during multi-track sessions, allowing for greater flexibility in post-production. Additionally, proper low-frequency management within the booth prevents bass buildup, which can muddy mixes. When designed correctly, a large acoustic booth offers consistent frequency response across the spectrum, enabling engineers to make reliable mixing decisions directly from the recorded signal.
Step-by-Step Guide to Designing Your Large Acoustic Booth
Step 1: Assess Room Dimensions and Ceiling Height
Begin by measuring the available floor space and ceiling height. A minimum interior dimension of 8′ x 8′ x 7′ is recommended for a standard five-piece drum kit. Larger kits or hybrid setups may require 10′ x 10′ or more.
Step 2: Determine Isolation Requirements
Evaluate whether you need full floating construction (room-within-a-room) or if a decoupled modular booth will suffice. Floating rooms offer superior STC (Sound Transmission Class) ratings (STC 60+), ideal for professional studios.
Step 3: Choose the Right Wall Construction
Use dual-layer drywall with resilient channels and insulation. Incorporate mass-loaded vinyl (MLV) between layers to enhance sound blocking, especially in the low-mid frequencies critical for drums.
Step 4: Install a Decoupled Floor System
Build a floating floor using neoprene isolators or rubber pads beneath a plywood subfloor. This prevents structure-borne vibrations from transferring to adjacent rooms.
Step 5: Design an Acoustically Treated Ceiling
Suspend acoustic clouds and bass traps at strategic points. Angled ceiling panels can help diffuse overhead reflections from cymbals and snare.
Acoustic Treatment Strategies Inside the Booth
Step 6: Place Corner Bass Traps
Low-frequency energy accumulates in corners. Install broadband bass traps (tri-corner and quadratic diffusors) to absorb and scatter standing waves.
Step 7: Apply Wall Diffusion and Absorption
Use a combination of absorption panels (4″ thick mineral wool) on first reflection points and diffusers on rear walls to maintain natural ambience without flutter echo.
Step 8: Optimize Door and Ventilation Acoustics
Install an acoustic door with magnetic seals and a vestibule entry to prevent sound leakage. Use lined ducts and silencers for HVAC systems to eliminate noise infiltration.
Step 9: Integrate Observation and Connectivity
Include an acoustically sealed window (double or triple glazed) for visual communication. Embed conduit for XLR, power, and network cables to connect mics and monitoring gear.
Step 10: Test and Calibrate Acoustics
After construction, perform impulse response measurements using a calibrated microphone and analyzer. Adjust panel placement based on frequency response graphs to achieve balanced decay times (RT60).
Modular vs. Permanent Large Acoustic Booths: A Comparative Analysis
When planning a Large Acoustic Booth for Drum Recording, one of the key decisions is choosing between a permanent build and a modular solution. Each has distinct advantages depending on budget, space constraints, and long-term goals.
| Fonctionnalité | Permanent Booth | Modular Booth |
|---|---|---|
| Sound Isolation (STC) | STC 60–70 | STC 45–55 |
| Temps d'installation | 4–8 weeks | 2–5 days |
| Cost (Approx.) | $15,000–$40,000+ | $8,000–$20,000 |
| Mobilité | None | Délocalisable |
| Bass Control | Excellent (full bass trapping) | Good (limited by size) |
As shown, permanent booths offer superior acoustic performance but require significant investment and structural commitment. Modular booths, while slightly less effective in isolation, provide flexibility and faster deployment—ideal for project studios or rental spaces.
Material Selection and Performance Comparison
The choice of building materials significantly impacts the acoustic behavior of your Large Acoustic Booth for Drum Recording. Below is a comparison of common materials used in wall and ceiling assemblies.
| Material | NRC (Noise Reduction Coefficient) | Application | Density (kg/m³) |
|---|---|---|---|
| Mineral Wool (4″ thick) | 1.00–1.10 | Absorption panels | 32–48 |
| Fiberglass (6″ thick) | 1.05 | Bass traps | 24 |
| Mass-Loaded Vinyl (2mm) | 0.10 | Sound barrier layer | 8–10 |
| Wood Diffuser (QRD) | 0.20–0.60 | Scattering reflections | 600–700 |
| Gypsum Board (5/8″) | 0.05 | Wall sheathing | 880 |
This data highlights that high-NRC materials like mineral wool are essential for absorption, while dense, non-porous materials like MLV serve as effective barriers. Combining both types in layered construction maximizes performance.
User Feedback and Real-World Performance
Real-world validation is crucial when investing in a Large Acoustic Booth for Drum Recording. Here’s feedback from two professional users:
“We installed a custom 10′ x 10′ floating booth in our studio last year. The reduction in bleed to vocal mics in adjacent rooms was immediate. Tracking live bands is now seamless.”
— Michael Tran, Studio Engineer, Sonic Edge Productions
“The modular booth we purchased allowed us to convert a spare room into a drum recording space in under a week. While not as tight as a permanent build, it delivers clean, punchy drum sounds suitable for client work.”
— Elena Rodriguez, Producer, Echo Lab Music
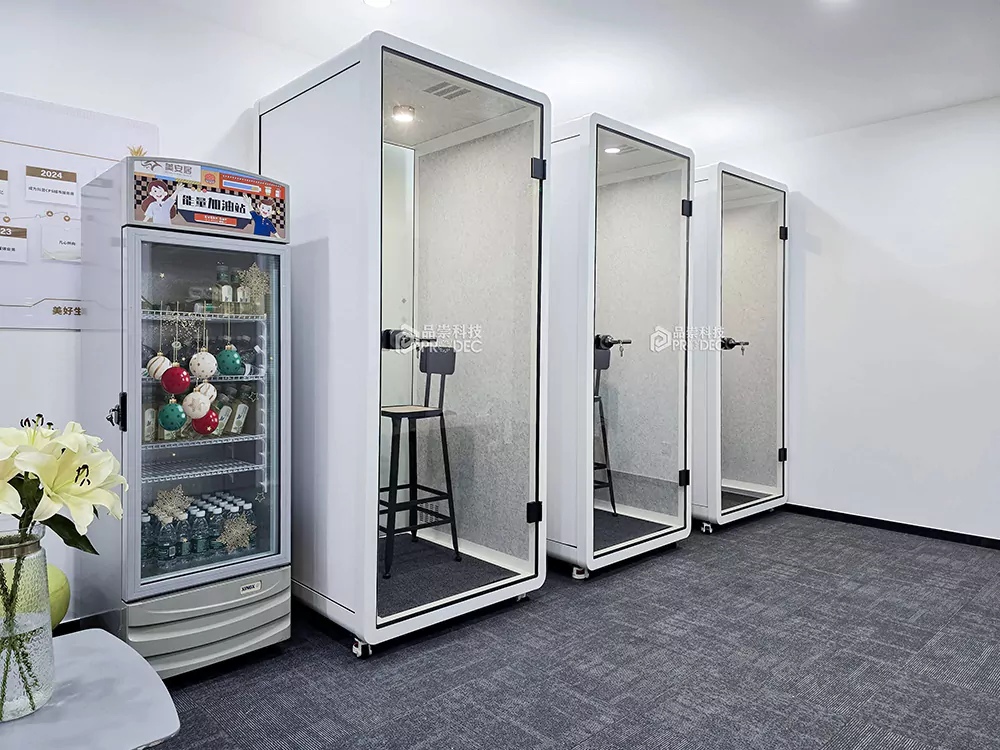
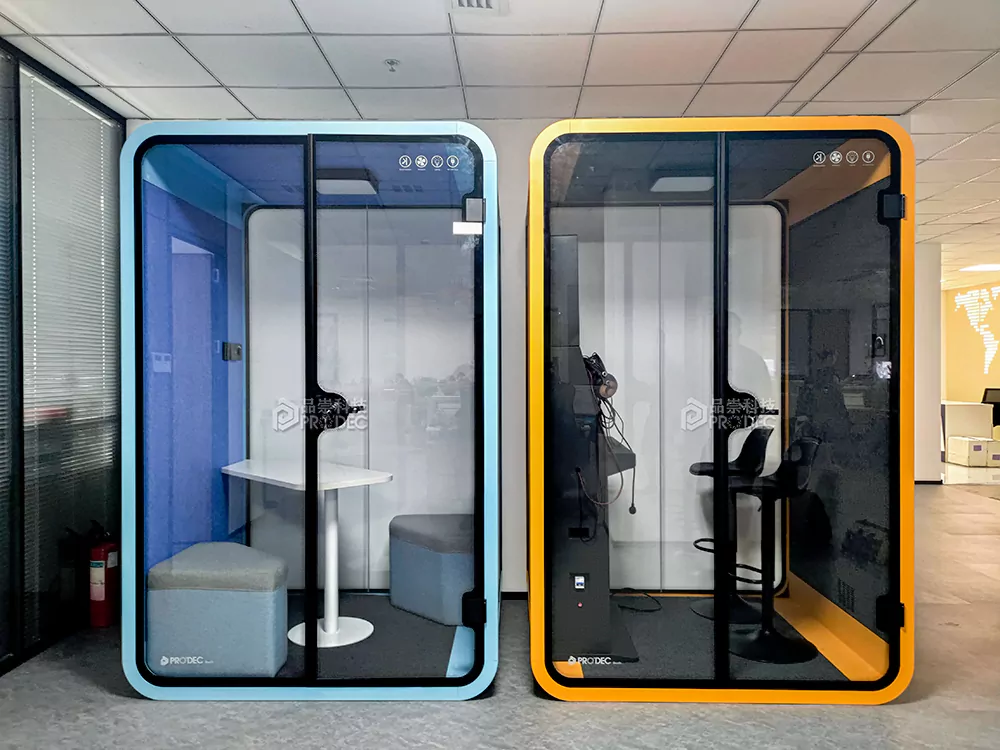
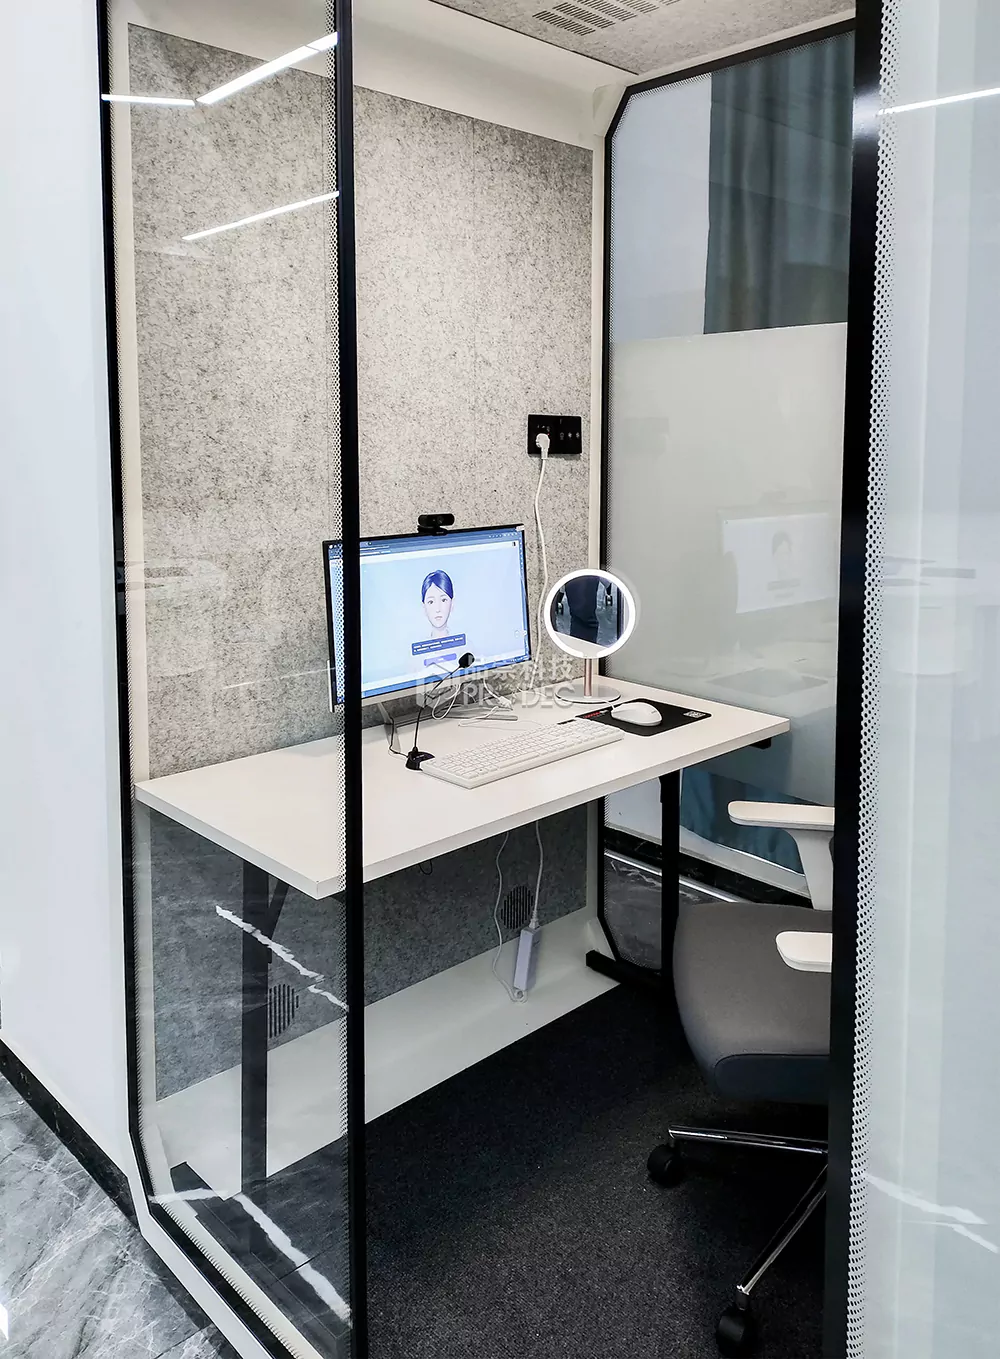
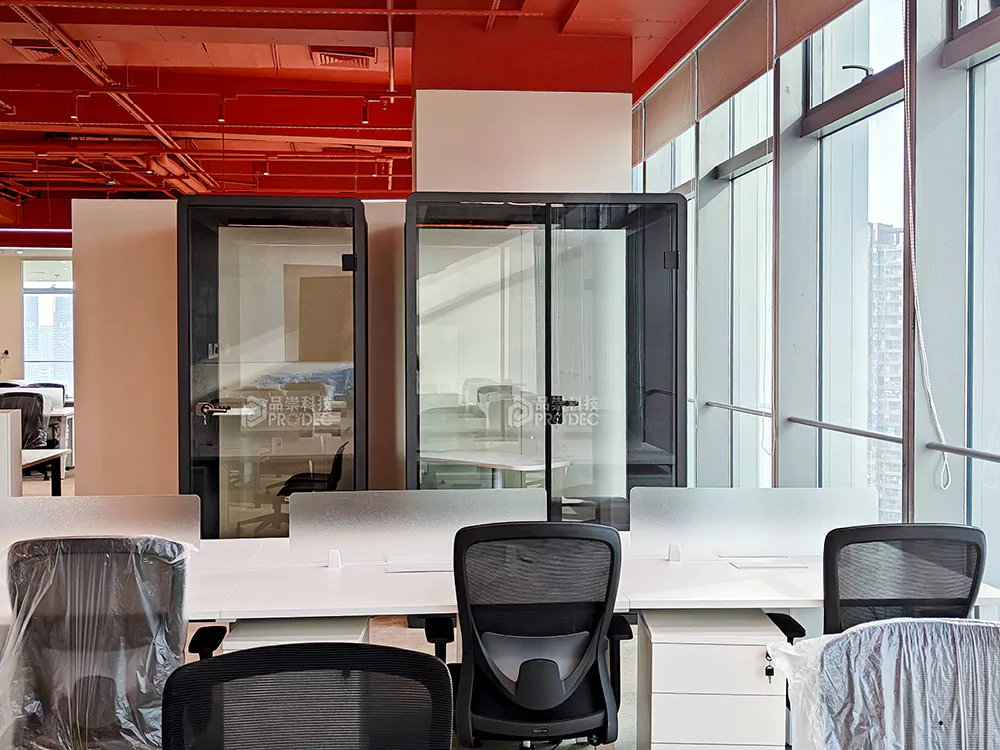
These testimonials reflect the practical benefits and trade-offs experienced by professionals. Visual documentation from installations often shows clean integration with existing studio layouts, featuring treated interiors and integrated glass viewing ports.
Maintaining and Upgrading Your Acoustic Booth
Once your Large Acoustic Booth for Drum Recording is operational, regular maintenance ensures longevity and consistent performance. Inspect seals around doors and windows annually for wear. Dust and vacuum fabric-covered panels to prevent clogging of porous materials, which reduces absorption efficiency.
Consider future upgrades such as active noise cancellation systems or motorized acoustic panels for variable reverb control. Some studios integrate IR (Impulse Response) capture zones within the booth to sample room characteristics for use with convolution reverb plugins.
Additionally, monitor temperature and humidity levels, especially if the booth is located in a basement or attic space. Excessive moisture can degrade insulation and promote mold growth on absorptive materials. Use dehumidifiers or climate control systems as needed.
Conclusion: Building the Ideal Environment for Drum Excellence
Un système bien conçu Large Acoustic Booth for Drum Recording is not merely a luxury—it’s a necessity for achieving broadcast-quality drum tracks. By following the ten-step design process, selecting appropriate materials, and understanding the trade-offs between modular and permanent solutions, both professional and semi-professional studios can create an optimal recording environment.
Whether you’re tracking jazz ensembles, rock bands, or electronic hybrids with acoustic elements, the right booth enhances clarity, reduces post-production time, and elevates the overall sonic quality of your productions. With careful planning and execution, your investment in acoustic infrastructure will pay dividends for years to come.
本文由人工智能技术生成,基于公开技术资料和厂商官方信息整合撰写,以确保信息的时效性与客观性。我们建议您将所有信息作为决策参考,并最终以各云厂商官方页面的最新公告为准。